Mortal Shell 2 Holding Cells Walkthrough
Updated September 4, 2026 · Checked for the current launch build
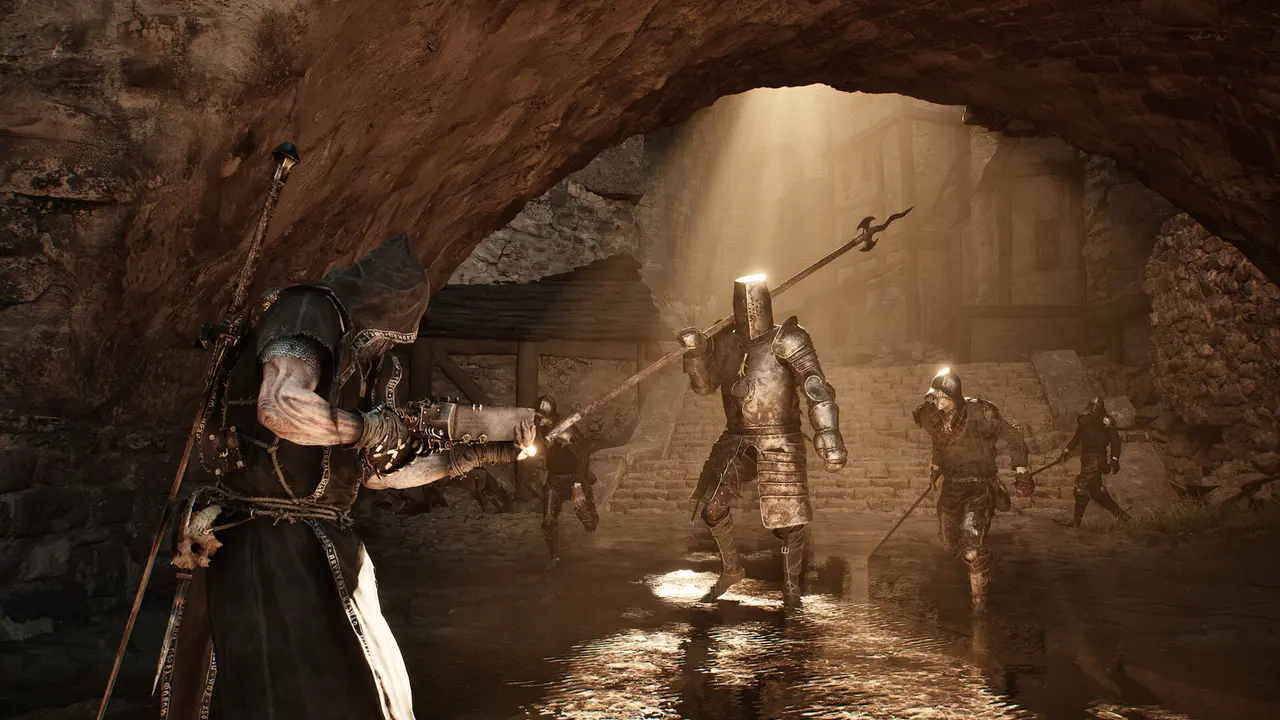
Official promotional screenshot: Steam / Cold Symmetry / Playstack
Which well to use
- Blackridge Hamlet well: RPS flags it during the Blackridge Cliffs chapter and postpones the clear because the Pack is a spike. Good if you already have Proxima and want a fire axe stone.
- Gloomshade Grove well: the Grove-side / Citadel-outskirts well. Fextralife notes a Revered Gland behind an illusory wall on this Citadel-adjacent version of the name. Confirm you are in the waterlogged cells, not the Martyr's Prison hole.
You can skip the Pack entirely if you only want Grove weapons. Great Martyr's Blade and Salvaged Trebuchaxe do not require this boss.
Lower path: key, then Pack
- From the wooden walkways, descend. A locked door surrounded by bear traps is the Feeding Room — remember it.
- On the waterlogged floor, clear the snake / hut cluster. The Feeding Room Key sits on a corpse in the larger shack (Sportskeeda: beside one of two floor bodies).
- Open the trapped door, ride the elevator. Glimpse sits on boxes to the right at the top.
- Bone Gate into the Rabid Grisha Pack — two full-grown Grisha at once.
Pack fight, short version
- Face both. Circle so you can see both wind-ups. Do not parry if both are swinging.
- Red lunge grab bypasses Harden — dodge it (Game8).
- Focus one target to death. Tiel's perfect dodges and Proxima stasis both help. A remnant proc is luck, not a plan.
- Game8's fast trick: shoot the overhead cylinders when a Grisha stands under one. Knockdown turns the fight into a 1v1 sooner.
Rewards: Inflamed Clawstone, Grisha Remnant(s), about 1,100 Gloom in RPS's run. Unequip remnants before Zmey.
Upper path
The wooden platforms also lead to a secret / warp exit toward the Citadel of Penance outskirts. That is how the dungeon "bridges" Blackridge and the Grove. Clear the lower Pack first if you came for the stone; use the upper path when you want a Citadel shortcut, not a second boss.
Community Holding Cells walkthrough — lower path and upper path
Unofficial player video. Written steps follow Rock Paper Shotgun Part 8, GameRant, Game8, and Gamer Guides rather than the video's commentary.
Related guides
Rabid Grisha Pack · Grisha Remnants · Blackridge Cliffs · Gloomshade Grove
Frequently asked questions
Where is the Holding Cells dungeon?
Underground between Blackridge Hamlet and Gloomshade Grove. Both ends are wells. Rock Paper Shotgun enters from the Blackridge well and exits toward the Grove / Citadel.
Where is the Feeding Room Key?
On a body inside a shack on the waterlogged lower floor. The locked door with bear traps is on that same level — mark it on the way down, then come back with the key.
What does the Rabid Grisha Pack drop?
Inflamed Clawstone (fire infusion for Veteran's Battle Axe) plus Grisha Remnants. GameRant lists two remnants; RPS lists one. Loot the floor before you leave.