Mortal Shell II Difficulty & Accessibility
Mortal Shell II still has no classic Easy/Normal/Hard slider. Challenge is adjusted with an optional menu setting plus in-game items.
Sourcing Note: Adaptive Difficulty follows Cold Symmetry's September 5, 2026 Steam post New Update Out Now. Slayer Seal and Night Mode details come from earlier official and launch-guide sources. No Easy/Normal/Hard labels exist in the menu.
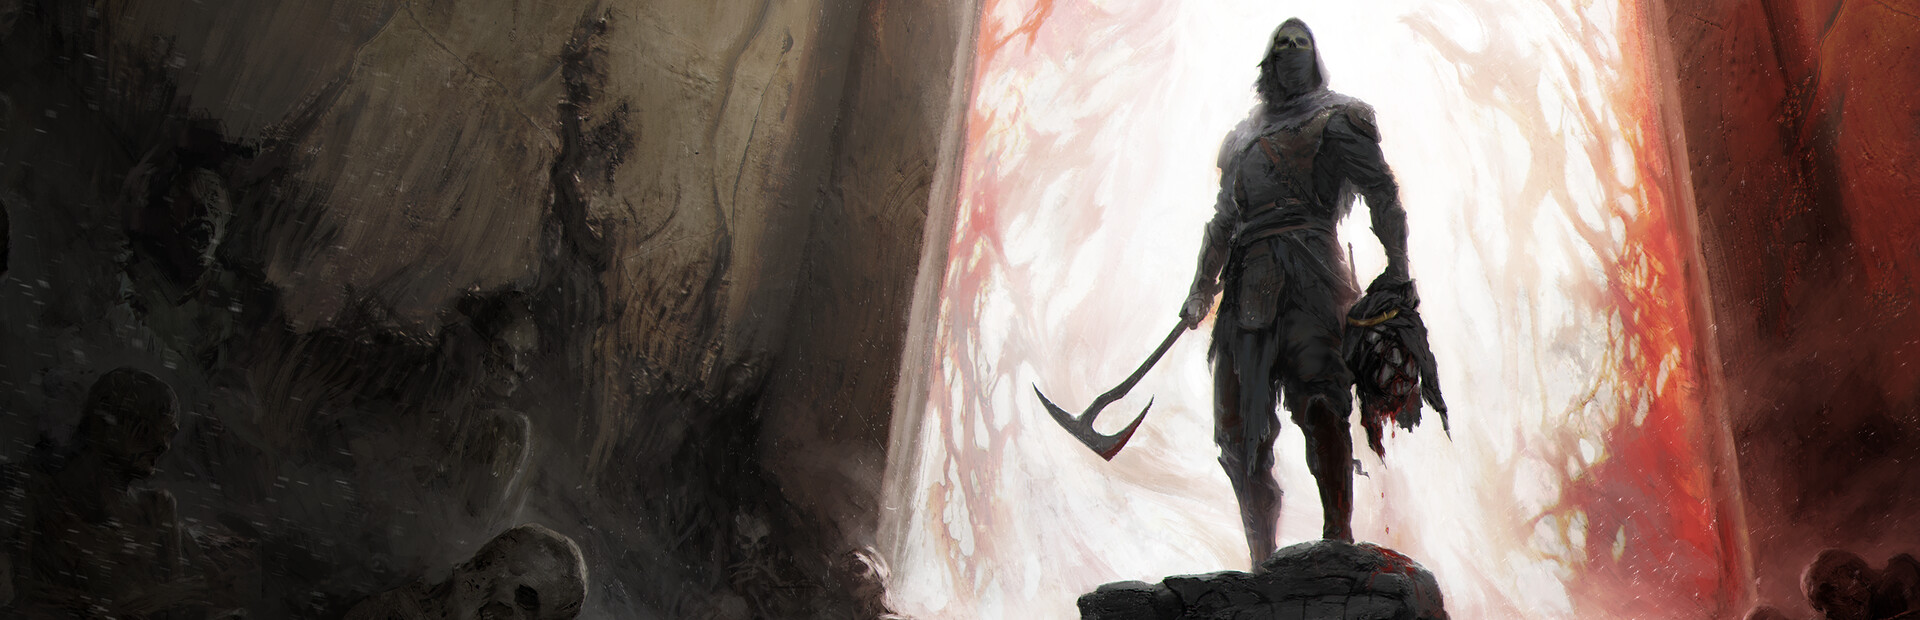
How Difficulty Works
Mortal Shell II implements difficulty adjustment through special in-game items that can be equipped or activated. This system allows you to:
- Optionally enable Adaptive Difficulty under Game > Game Settings (off by default)
- Make encounters easier with the Slayer Seal
- Increase challenge with the Gloombound Flame (Night Mode guide)
- Switch these options during a playthrough
- Use other Seals to adjust parrying and blocking mechanics
Adaptive Difficulty is a menu toggle. Slayer Seal and Night Mode stay in-world items.
Adaptive Difficulty (experimental)
The September 5, 2026 update adds Adaptive Difficulty as an experimental optional setting. It is off by default. Turn it on or off at any time under Game > Game Settings > Adaptive Difficulty.
- It adjusts enemy strength both ways from what you defeat and where you die, then relaxes toward standard balance as play changes.
- Winning: enemies gain damage, health, and break resist. They can scale past the original toughest difficulty and keep climbing while you keep winning.
- Struggling: enemies weaken on those same three values. A cap means no single attack takes more than a set fraction of your health bar, so you cannot be killed outright from full health.
- Those reductions do not apply during Night Mode. Night Mode can still be pushed harder and is never made easier.
- Nothing on-screen currently shows when the game adjusts. Cold Symmetry marked that as future work.
Official summary: What is Adaptive Difficulty in Mortal Shell II? · Game settings
Slayer Seal (Easier Mode)
What It Does
The Slayer Seal lowers the overall difficulty by providing significant combat advantages:
- Makes sidearms deal Break Damage
- Restores Health when performing Riposte executions
- Restores Resolve when performing Riposte executions
How to Find the Slayer Seal
- Fast travel to the Marrow Keep beacon
- From the beacon, take the door on your left
- Continue straight toward the outskirts along the hallway
- You'll reach an outdoor cliffside area with a stone throne (the "Magnificent Seat")
- The Slayer Seal is on the throne — pick it up
Unofficial Guide Sources: Destructoid, NerdSchalk, GamesRadar+
Important: Simply picking up the Slayer Seal has no penalty. The achievement lockout only triggers when you equip it from your inventory. You can safely carry it unequipped.
Achievement Restriction
⚠️ Important: Achievement Lock
Equipping the Slayer Seal permanently disables all achievement progression for that save file. The game provides two warnings before equipping. Once equipped, unequipping it later does not restore achievement eligibility. If you plan to unlock achievements, do not equip this Seal.
Sources: GamesRadar+, NerdSchalk (Unofficial player guides)
When to Use
The Slayer Seal is ideal for players who:
- Want to experience the story without intense combat challenge
- Are new to Souls-like games
- Prefer a more relaxed gameplay experience
- Are not concerned with unlocking achievements
Gloombound Flame (Harder Mode / Night Mode)
What It Does
The Gloombound Flame activates Night Mode, significantly increasing the challenge:
- Plunges the world into eternal night
- Makes enemies more powerful and difficult
- Unlocks better loot and rewards
- Reveals additional encounters, events, treasures, NPCs, and dungeons
How to Find and Activate the Gloombound Flame
Step 1: Get the Gloombound Flame
- Reach Fainweald and fast travel to the Widow's Overlook Beacon
- From the beacon, head down the slope toward the muddy section filled with gravestones
- You'll encounter the Great Arbiter of Flesh mini-boss in this area
- Look for a glowing item on a stone pillar near the boss — this is the Gloombound Flame
- You do NOT need to defeat the boss — simply grab the flame and leave if you prefer
Unofficial Guide Sources: Destructoid, Game8, PowerPyx, GamesGG
Step 2: Activate Night Mode
- Return to Marrow Keep and take the elevator to the top of the tower
- At the top, find the golden brazier/lantern by the fire
- Interact with the brazier and use the Gloombound Flame to light it
- The NPC Thestus will appear
- Talk to Thestus to activate Night Mode
Unofficial Guide Sources: Destructoid, PowerPyx, Game8
Toggle Anytime
You can deactivate Night Mode at Thestus's location at any time, allowing you to freely switch between day and night as needed.
No Achievement Restrictions
Unlike the Slayer Seal, Night Mode does not disable achievements. You can safely use Night Mode while working toward 100% achievement completion. In fact, Night Mode may be required to access certain content needed for full completion.
When to Use
Night Mode is ideal for players who:
- Want maximum challenge and difficulty
- Are seeking better rewards and exclusive content
- Want to experience 100% of the game
- Enjoy harder Souls-like experiences
Other Seals & Playstyle Adjustments
Beyond the Slayer Seal, Mortal Shell II offers a variety of other Seals that significantly affect your playstyle:
- Untarnished Seal — Used for Perfect Guard timing (required for Peter's Perfect Parry achievement)
- Various other Seals — Affect blocking, parrying, and defensive mechanics
These Seals allow you to customize your defensive approach and can make certain combat situations easier or harder depending on your playstyle preferences.
Camera & UI Settings
While official accessibility documentation is not detailed on Steam or Playstack websites, Mortal Shell II includes some helpful settings:
- Action Camera Style — Provides a wider camera angle, better for exploration and combat awareness
- UI Scale — Can be increased to improve visibility of on-screen elements
Note: Information about camera and UI settings sourced from player guides. For official accessibility features, refer to in-game settings menu or official support channels.
Accessibility Information
Detailed accessibility options are not listed on the official Steam store page, Playstack website, or mortalshell.com as of August 22, 2026.
For specific accessibility needs (such as colorblind modes, subtitle options, control remapping, or other assistive features), we recommend:
- Checking the in-game Options/Settings menu for available features
- Reviewing the Steam store page for updates
- Visiting Playstack's official page
- Contacting Cold Symmetry or Playstack support for specific accessibility questions
Why no invented details: We do not list specific accessibility feature names (e.g., "colorblind mode," "one-handed controls") unless officially documented, to avoid providing inaccurate information. Always refer to official sources for confirmed feature availability.
Recommended Approach for New Players
If you're new to Mortal Shell II or Souls-like games, consider this progression:
- Start with default settings (Adaptive Difficulty off, no Slayer Seal, no Night Mode) to experience the intended baseline
- If you find combat too challenging, equip the Slayer Seal (but remember this disables achievements)
- Once you're comfortable, try Night Mode for harder content and better rewards
- Experiment with different Seals to find defensive mechanics that suit your playstyle
Remember: You can switch difficulty settings at any time, so don't hesitate to adjust based on your experience.
Official Sources
For official information about Mortal Shell II's difficulty and settings:
- Steam — New Update Out Now — Official Adaptive Difficulty notes (September 5, 2026)
- Steam Store Page — Official game features and system requirements
- Playstack Official Page — Publisher information
- mortalshell.com — Developer website
Related Guides
- Adaptive Difficulty update — Official September 5, 2026 notes
- Achievements Guide — Understanding achievement restrictions with Slayer Seal
- Beginner's Guide — Essential tips for starting your journey
- Combat Guide — Master the combat system
- Progression Guide — Navigate Night Mode content