Mortal Shell 2 Healing Upgrades: Revered Glands & Synaptic Vessels
Updated August 23, 2026 · Checked for the current launch build
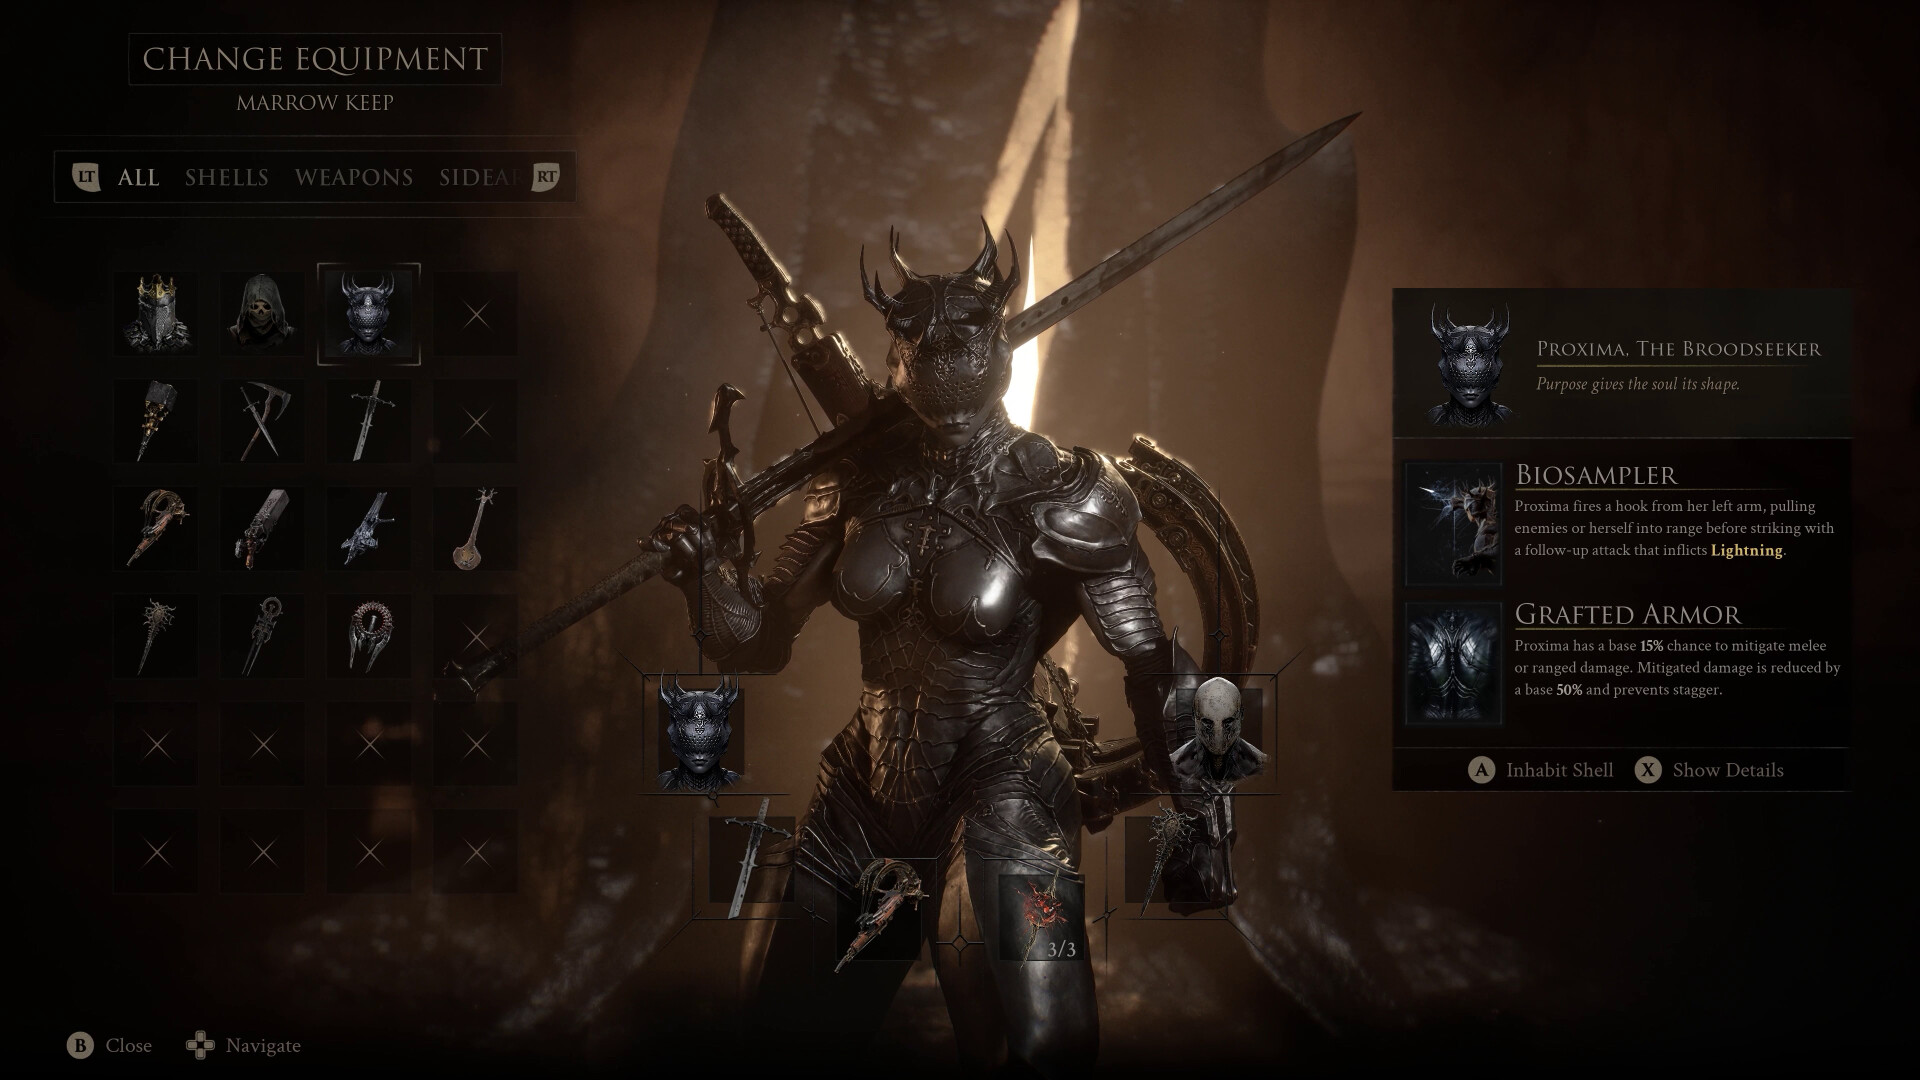
Official promotional screenshot: Steam / Cold Symmetry / Playstack
Which upgrade do you need?
| Item | Effect | Prioritize when |
|---|---|---|
| Revered Gland | Adds one Mether's Pulse charge | You run out of heals before reaching the next Beacon |
| Synaptic Vessel | Raises HP restored by each charge | You still have charges but each heal feels too weak |
Apply collected upgrades through Mether's Pulse at a Beacon; picking up the item alone does not communicate the final result as clearly as checking the Pulse afterward.
Reliable early healing route
| Type | Location | How to get it | Effect |
|---|---|---|---|
| Revered Gland | Merrick, Marrow Keep | Buy from Rare Findings for 1,500 Coin | +1 Mether's Pulse charge |
| Synaptic Vessel | Merrick, Marrow Keep | Buy from Rare Findings for 1,500 Coin | More healing per charge |
| Revered Gland | Widow's Overlook route | Guarded overworld pickup near the Beacon route | +1 charge |
| Synaptic Vessel | Flooded Village | Defeat the area's Grisha encounter | More healing per charge |
| Synaptic Vessel | Alchemist's Workshop | Reveal the secret basement route and reach the altar | More healing per charge |
This route gives both capacity and potency before the deeper Corrupted Gates. Other reported pickup anchors include Thieves Retreat, Holding Cells, Citadel of Penance, Abbey Entrance, Sunken Village, Prisoners' Domain, Stonebled Gate, Temple of Vatra, Nochtean Gate, and Slumwater Drain.
Why guides show different totals
Current launch coverage is inconsistent: one written checklist reports 21 total (11 Glands and 10 Vessels), a video checklist reports 23, while one interactive-map snapshot exposes 14 Revered Gland and 10 Synaptic Vessel markers. Map markers may include merchant stock, repeated/NG+ states, or duplicate data, so marker count is not automatically the collectible total.
Practical completion check: there is no dependable in-menu collection counter reported. Revisit each route and confirm whether the pickup remains, while recording Glands and Vessels separately.
Boss preparation
- Take charge upgrades first if deaths happen after exhausting every heal.
- Take potency first if a heal fails to move you out of one-combo range.
- Resting at a Beacon refills Mether's Pulse; plan long dungeon attempts from the nearest clean route.